Oracle states the database is
- Free to download
- Free to develop and deploy (meaning you do not have to pay a license fee)
- Free to distribute (including ISVs)
It runs on 32-bit Linux and Windows operating systems, and can be installed on any supported hardware platform. Being free, and 'lightweight', it comes with some restrictions:
- Uses at most one CPU or one dual core of processing capability;
- Memory usage is kept below one gigabyte (GB);
- Is limited to a single instance per system; and,
- Stores up to four GB of user data
(This information has been taken from the Oracle Database 10g Express Edition page on OTN (link to the OTN page))
My raison d'etre for installing XE was to see if I could run Discoverer on this database. XE does not come with the OLAP or Data Mining or Partitioning options (it is a lightweight and free version), so I obviously would not be able to take advantage of those features (I would not be able to run Discoverer OLAP against an XE database for example), but I thought I should be able to run Discoverer relational.
Installing the XE Database
The first step was to download and install the XE database. The downloadable file is approximately 155MB in size (compared to 650MB for the enterprise edition) (link to download page on OTN). Furthermore, and importantly enough, the installer is a native Windows installer and not the Oracle Universal Installer that you would be used to seeing when installing other versions of the database. This reduces the install time and provides a more cognitively seamless experience to the first time user.
To start the download operation you simply double-click the installable file (which is conveniently named OracleXE.exe)
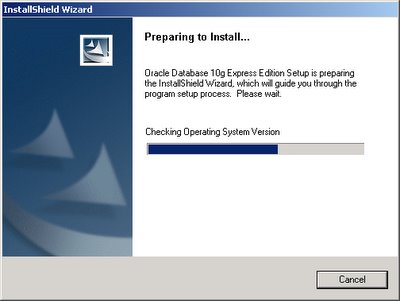
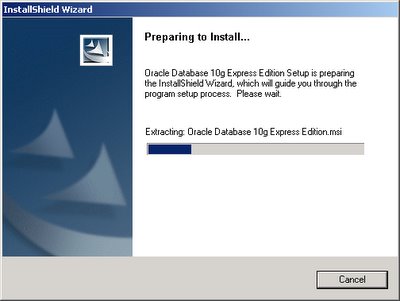
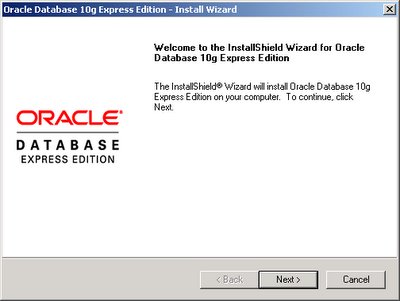
The Install Wizard page itself is very clean and minimalist in nature. You have only two options here: either click 'Next' to go to the next step in the installation wizard, or cancel.
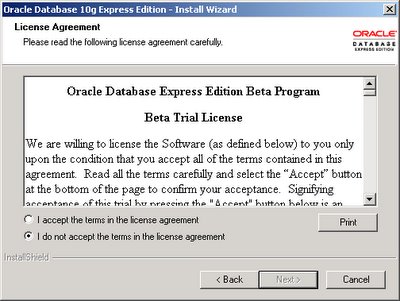
A standard license agreement screen is the next to be displayed.
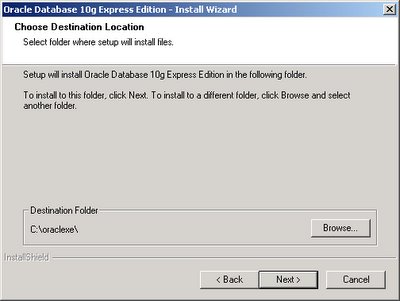
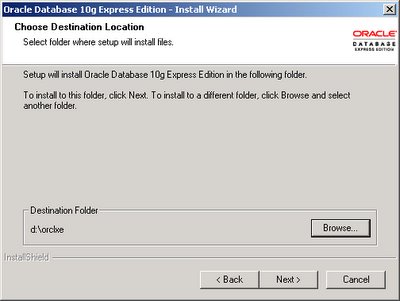
 Select a folder to install XE into. Unlike the OUI experience where you specify an 'Oracle Home', here you simply select a folder to install XE into. This is also because you can only have one instance of XE installed on a machine (i.e. you cannot install two instances of XE on a computer). XE however will happily co-exist with other existing SE and EE editions that you may have on your computer (as I do).
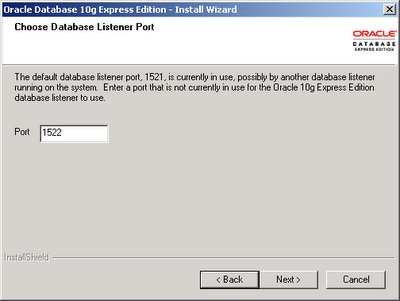
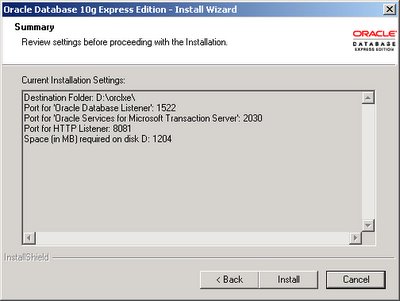
XE uses three ports; one for the listener, another for the http server, and another for 'Oracle Services for Microsoft transaction server'. If you have another database on your system, start its listener so that the installer is able to detect the conflict and prompt you with another port number. In my case two databases listen on the same port: 1521. I suppose I could have chosen to have XE also listen on the same port, but I didn't want to try that out, just yet (nor do I know if that would work). Therefore I accepted the port that the install wizard prompted me with - 1522.
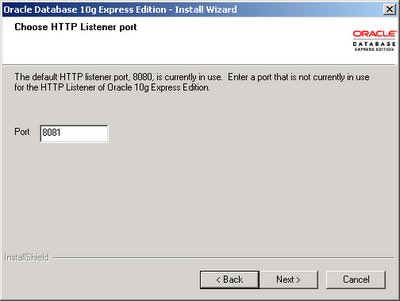
 Ditto for the HTTP Listener port (8081 instead of the default 8080).
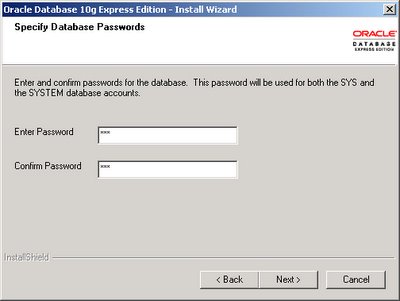
 You can enter only one password for both the 'sys' and 'system' accounts here. Once the database installs you can go and change them to be different.
 That's it! Review the settings and click 'Install' to begin the installation. Note that space required for the installation is 1.2GB.
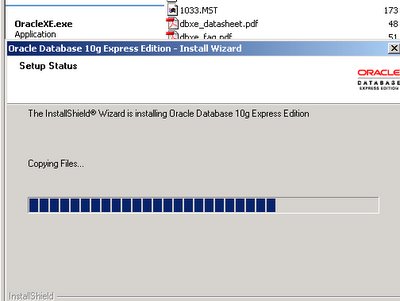
 The installation itself is very, very fast. I didn't time it, but it was over in like a matter of minutes!


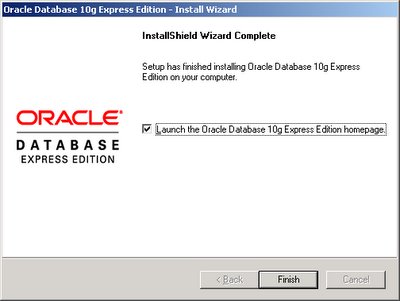
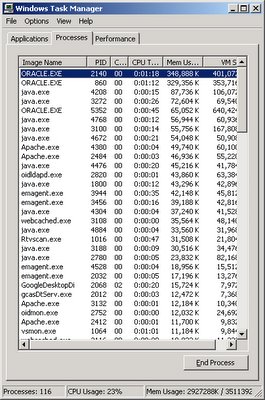
Now, I have two Oracle databases already installed on my machine: one is the infrastructure database while the other is a standalone enterprise edition. They were happy to welcome the young XE sibling into the family, all happily co-existing together, as you can see from the process list below.
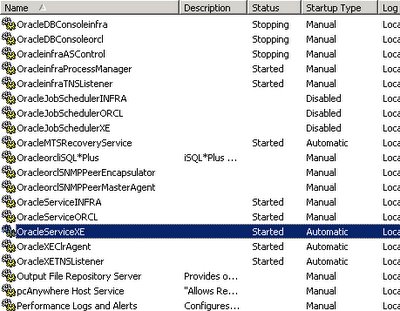
 XE adds three services to the list of services:
OracleServiceXE
OracleXECLRAgent
OracleXETNSListener
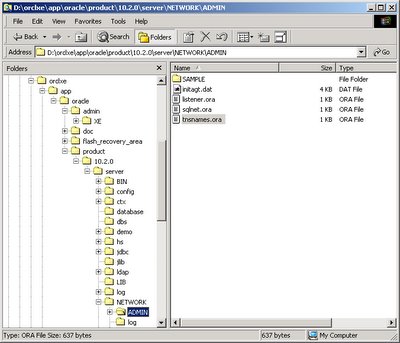
The directory structure is also slightly different, but not too different. The NETWORK and ADMIN folders are present, with the familiar listener.ora, sqlnet.ora, and tnsnames.ora files there.
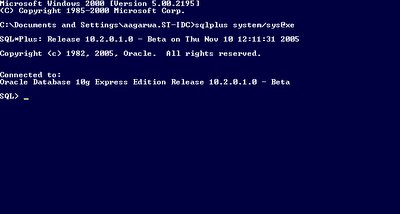
 Trusty old SQL*Plus is present! Connect and you see that the version is 10.2.0.1.0 - essentially 10.2.
 Now onto installing a Discoverer EUL in the next post.